Updated
How to Convert HEIC to JPG on Mac and iPhone
HEIC is the photo format of the iPhone camera. It makes smaller files than JPEG with the same quality, but many websites, apps, and devices that are not from Apple cannot open it. JPEG (also written JPG) works everywhere.
With HEIC Converter
- Open HEIC Converter, and drop the HEIC photos on its window, or click “Open Files”.
- Choose the folder for the converted photos.
- Choose “JPEG” or “PNG”, and set the quality with the slider.
- Click “Convert”.
In the settings, you can choose to keep the location and the modification date of the photos, and what to do after the conversion: move the original photos to the Trash, show the converted photos in Finder, or quit the app.
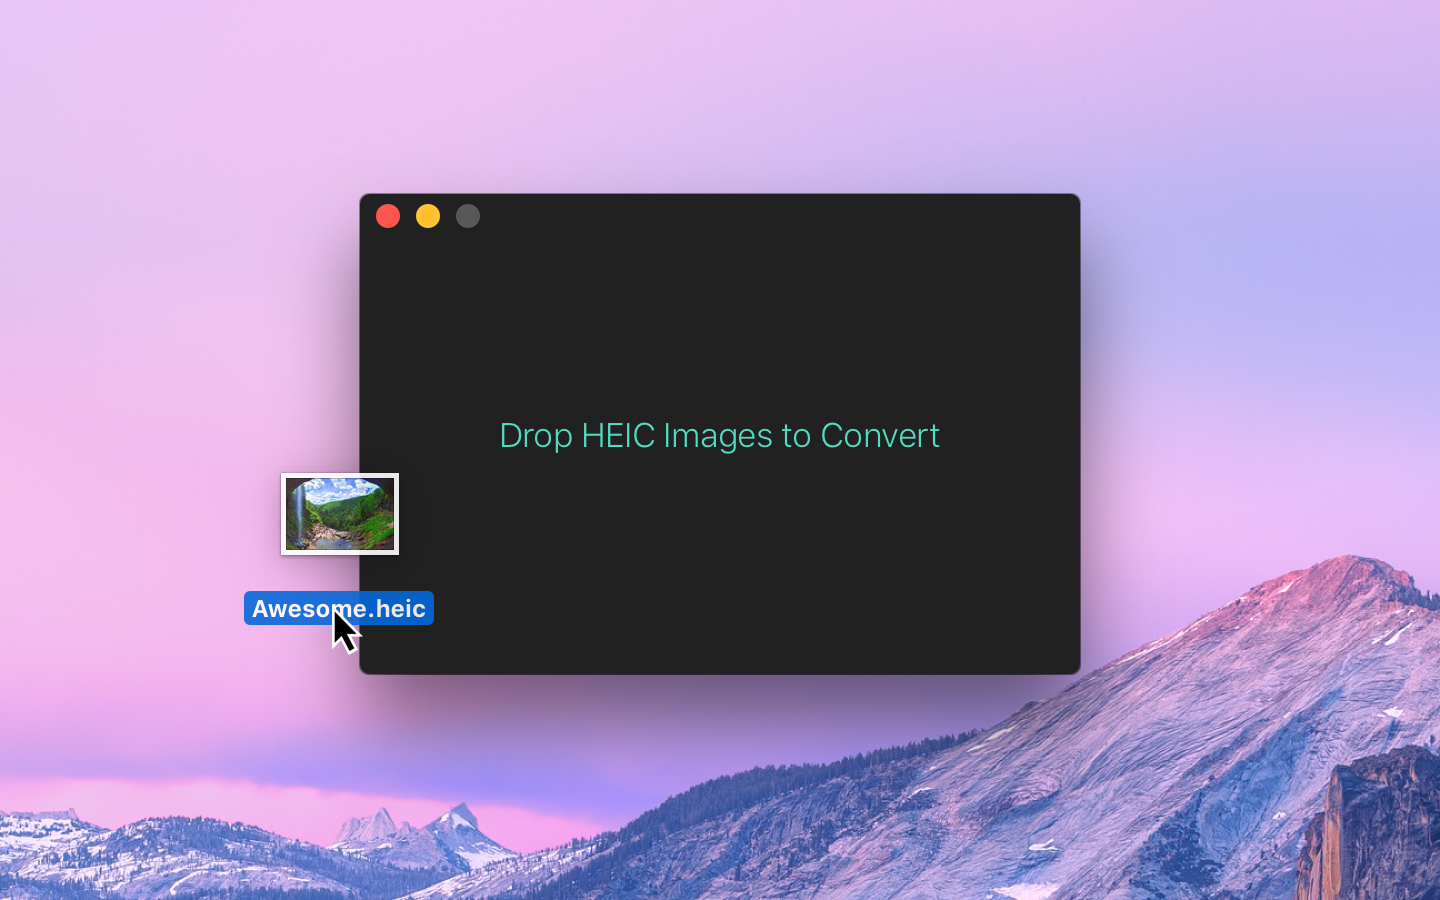

Get HEIC Converter
Convert HEIC images to JPEG or PNG

Free
- Platform
- macOS
- Requires
- macOS 26 or later
- Category
- Photo & Video
- Released
- October 2017
- Privacy
- No personal data collected
- Developer
- Sindre Sorhus
Without an app
On Mac
Finder converts HEIC photos itself, also many at a time:
- Select the HEIC photos in Finder.
- Control-click them, and choose “Quick Actions › Convert Image”.
- Choose “JPEG” in “Format” and a size in “Image Size”, and click “Convert to JPEG”. To keep the location and the other metadata, select “Preserve Metadata”.
The converted photos are saved next to the originals. This is enough for most uses. HEIC Converter adds a quality setting, and has separate settings for the location and the modification date, where “Preserve Metadata” keeps all the metadata or none of it.
You can also open a photo in Preview, choose “File › Export”, and choose “JPEG” in “Format”.
On iPhone
The Files app converts photos too:
- In the Photos app, select the photos, tap the share button, and choose “Save to Files”.
- In the Files app, select the photos, touch and hold one of them, and choose “Quick Actions › Convert Image”.
- Choose “JPEG”, and a size.
For many photos, make a shortcut in the Shortcuts app with the “Select Photos”, “Convert Image”, and “Save to Photos” actions.
To make the camera take JPEG photos, go to “Settings › Camera › Formats”, and choose “Most Compatible”. To get JPEG photos only when you copy them to a computer with a cable, go to “Settings › Apps › Photos”, and choose “Automatic” below “Transfer to Mac or PC”.